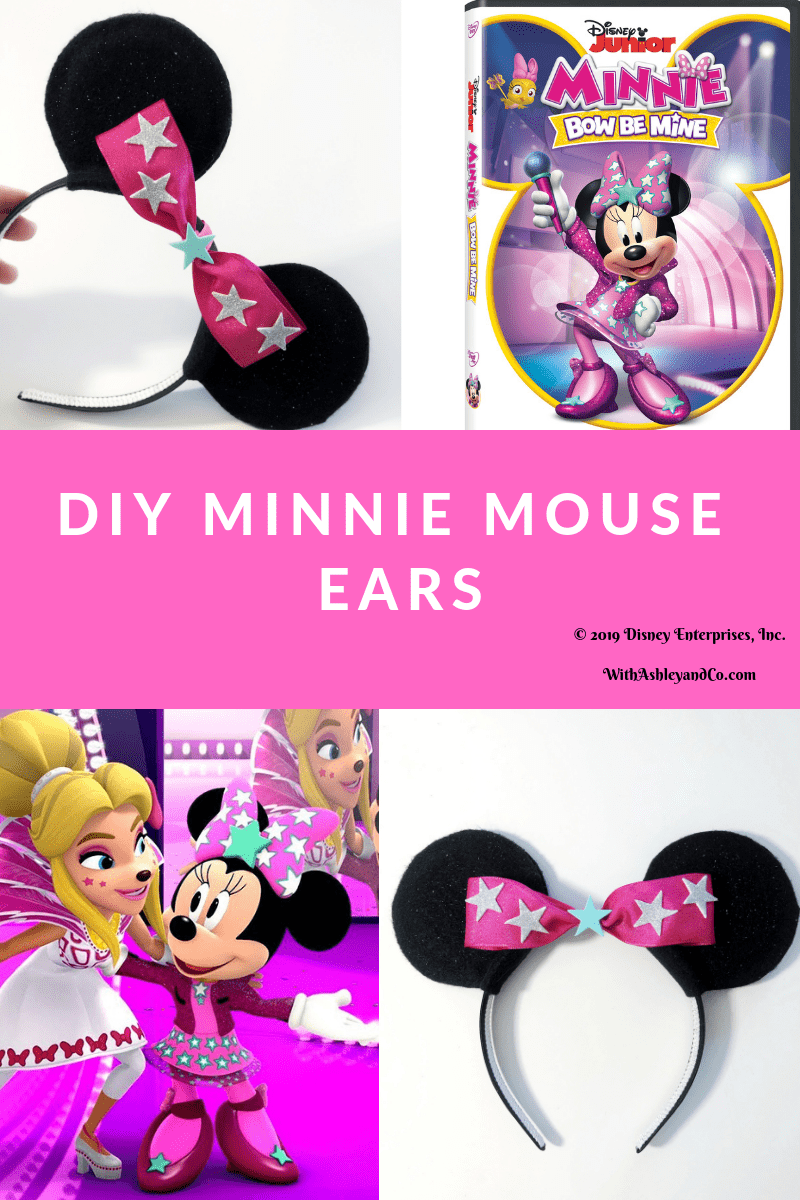
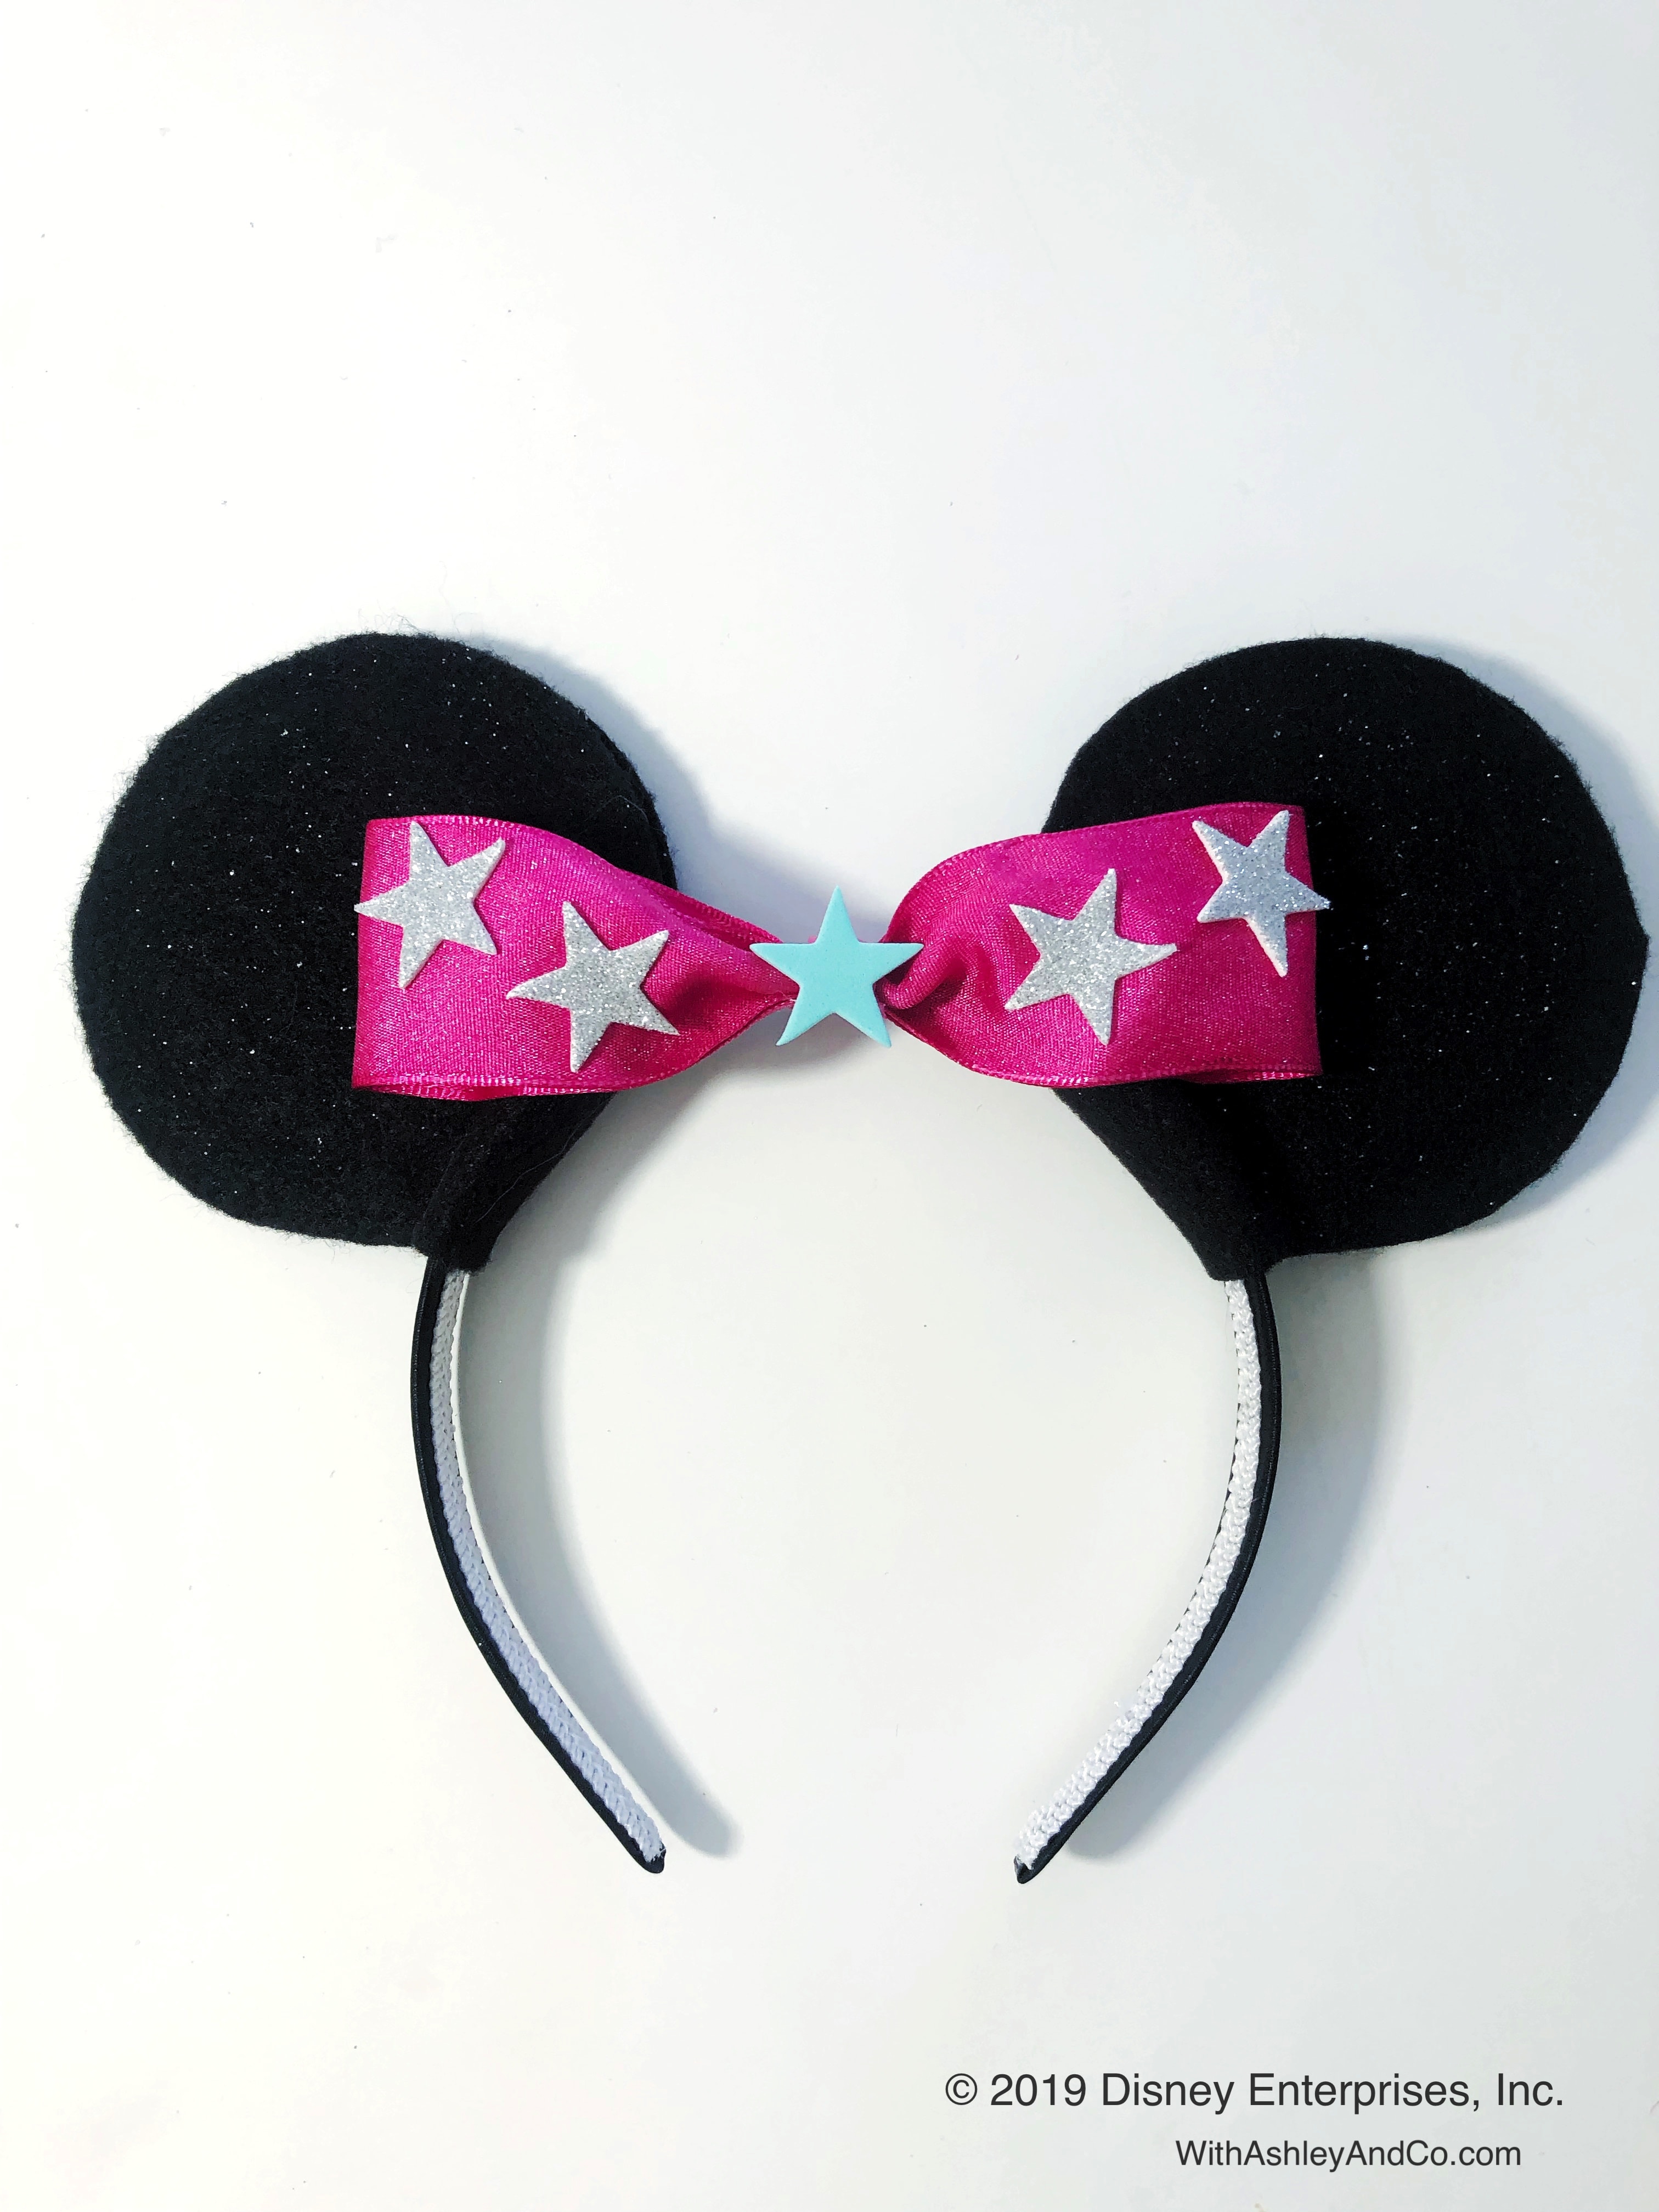
To celebrate the release of Disney Junior's Bow Be Mine DVD featuring my girl Minnie Mouse, I created these easy DIY Minnie Ears perfect for your little rock star! An outfit is not complete with a coordinating set of ears. Pretty sure Minnie told me that. Follow these 6 easy steps and you will have your very own Bow Be Mine inspired ears.
Minnie Mouse Bow Be Mine DIY Minnie Ears
This post is in partnership with Disney. All opinions are my own.
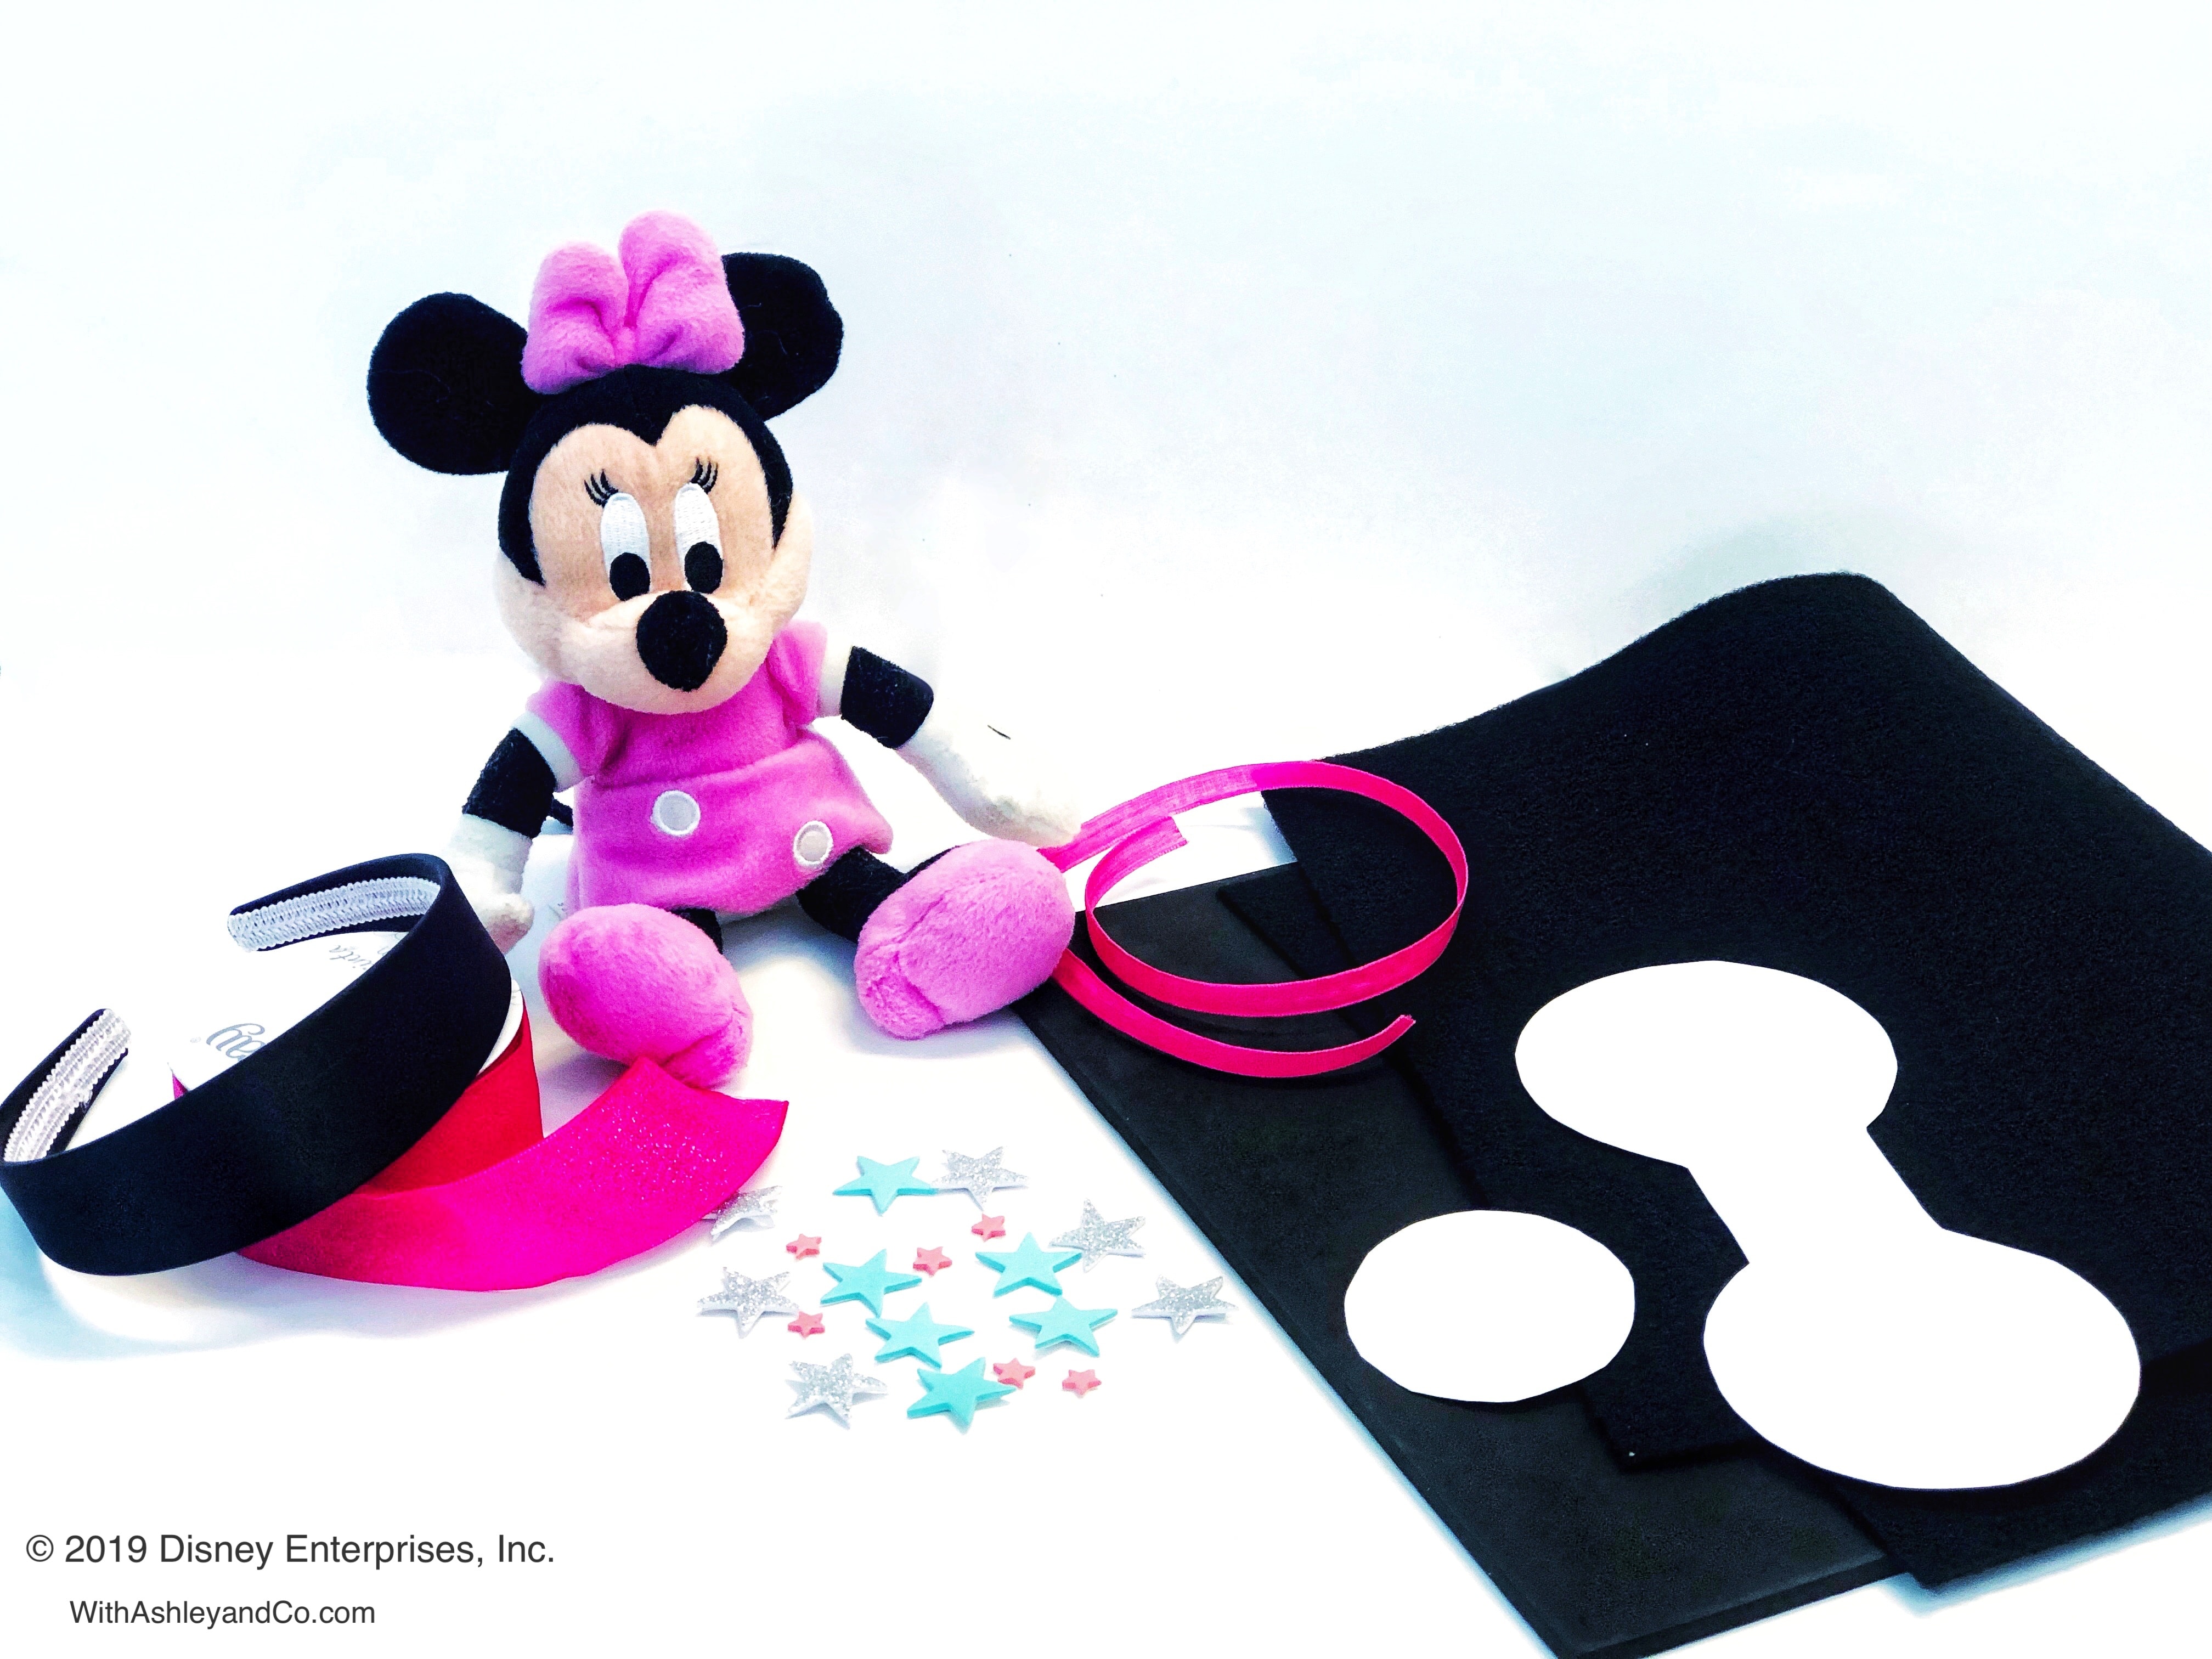
Materials Needed:
- Black Headband 1 inch wide
- Black Felt
- Thick Foam Sheet *Note if using thin foam sheets you will need to double up the circles on each ear
- Minnie Mouse Ears Template
- Scissors
- White Pencil
- Glue Gun and Glue
- Pink Ribbon – 2 Different Sizes (1.5 inch and 1/8th inch)
- Foam Star Stickers
- Ruler
Instructions:
Step 1. Using the Ear Template and White Pencil, trace 2 ear outlines on the felt and 2 smaller circles on the foam. If you bought thinner foam, trace 4.
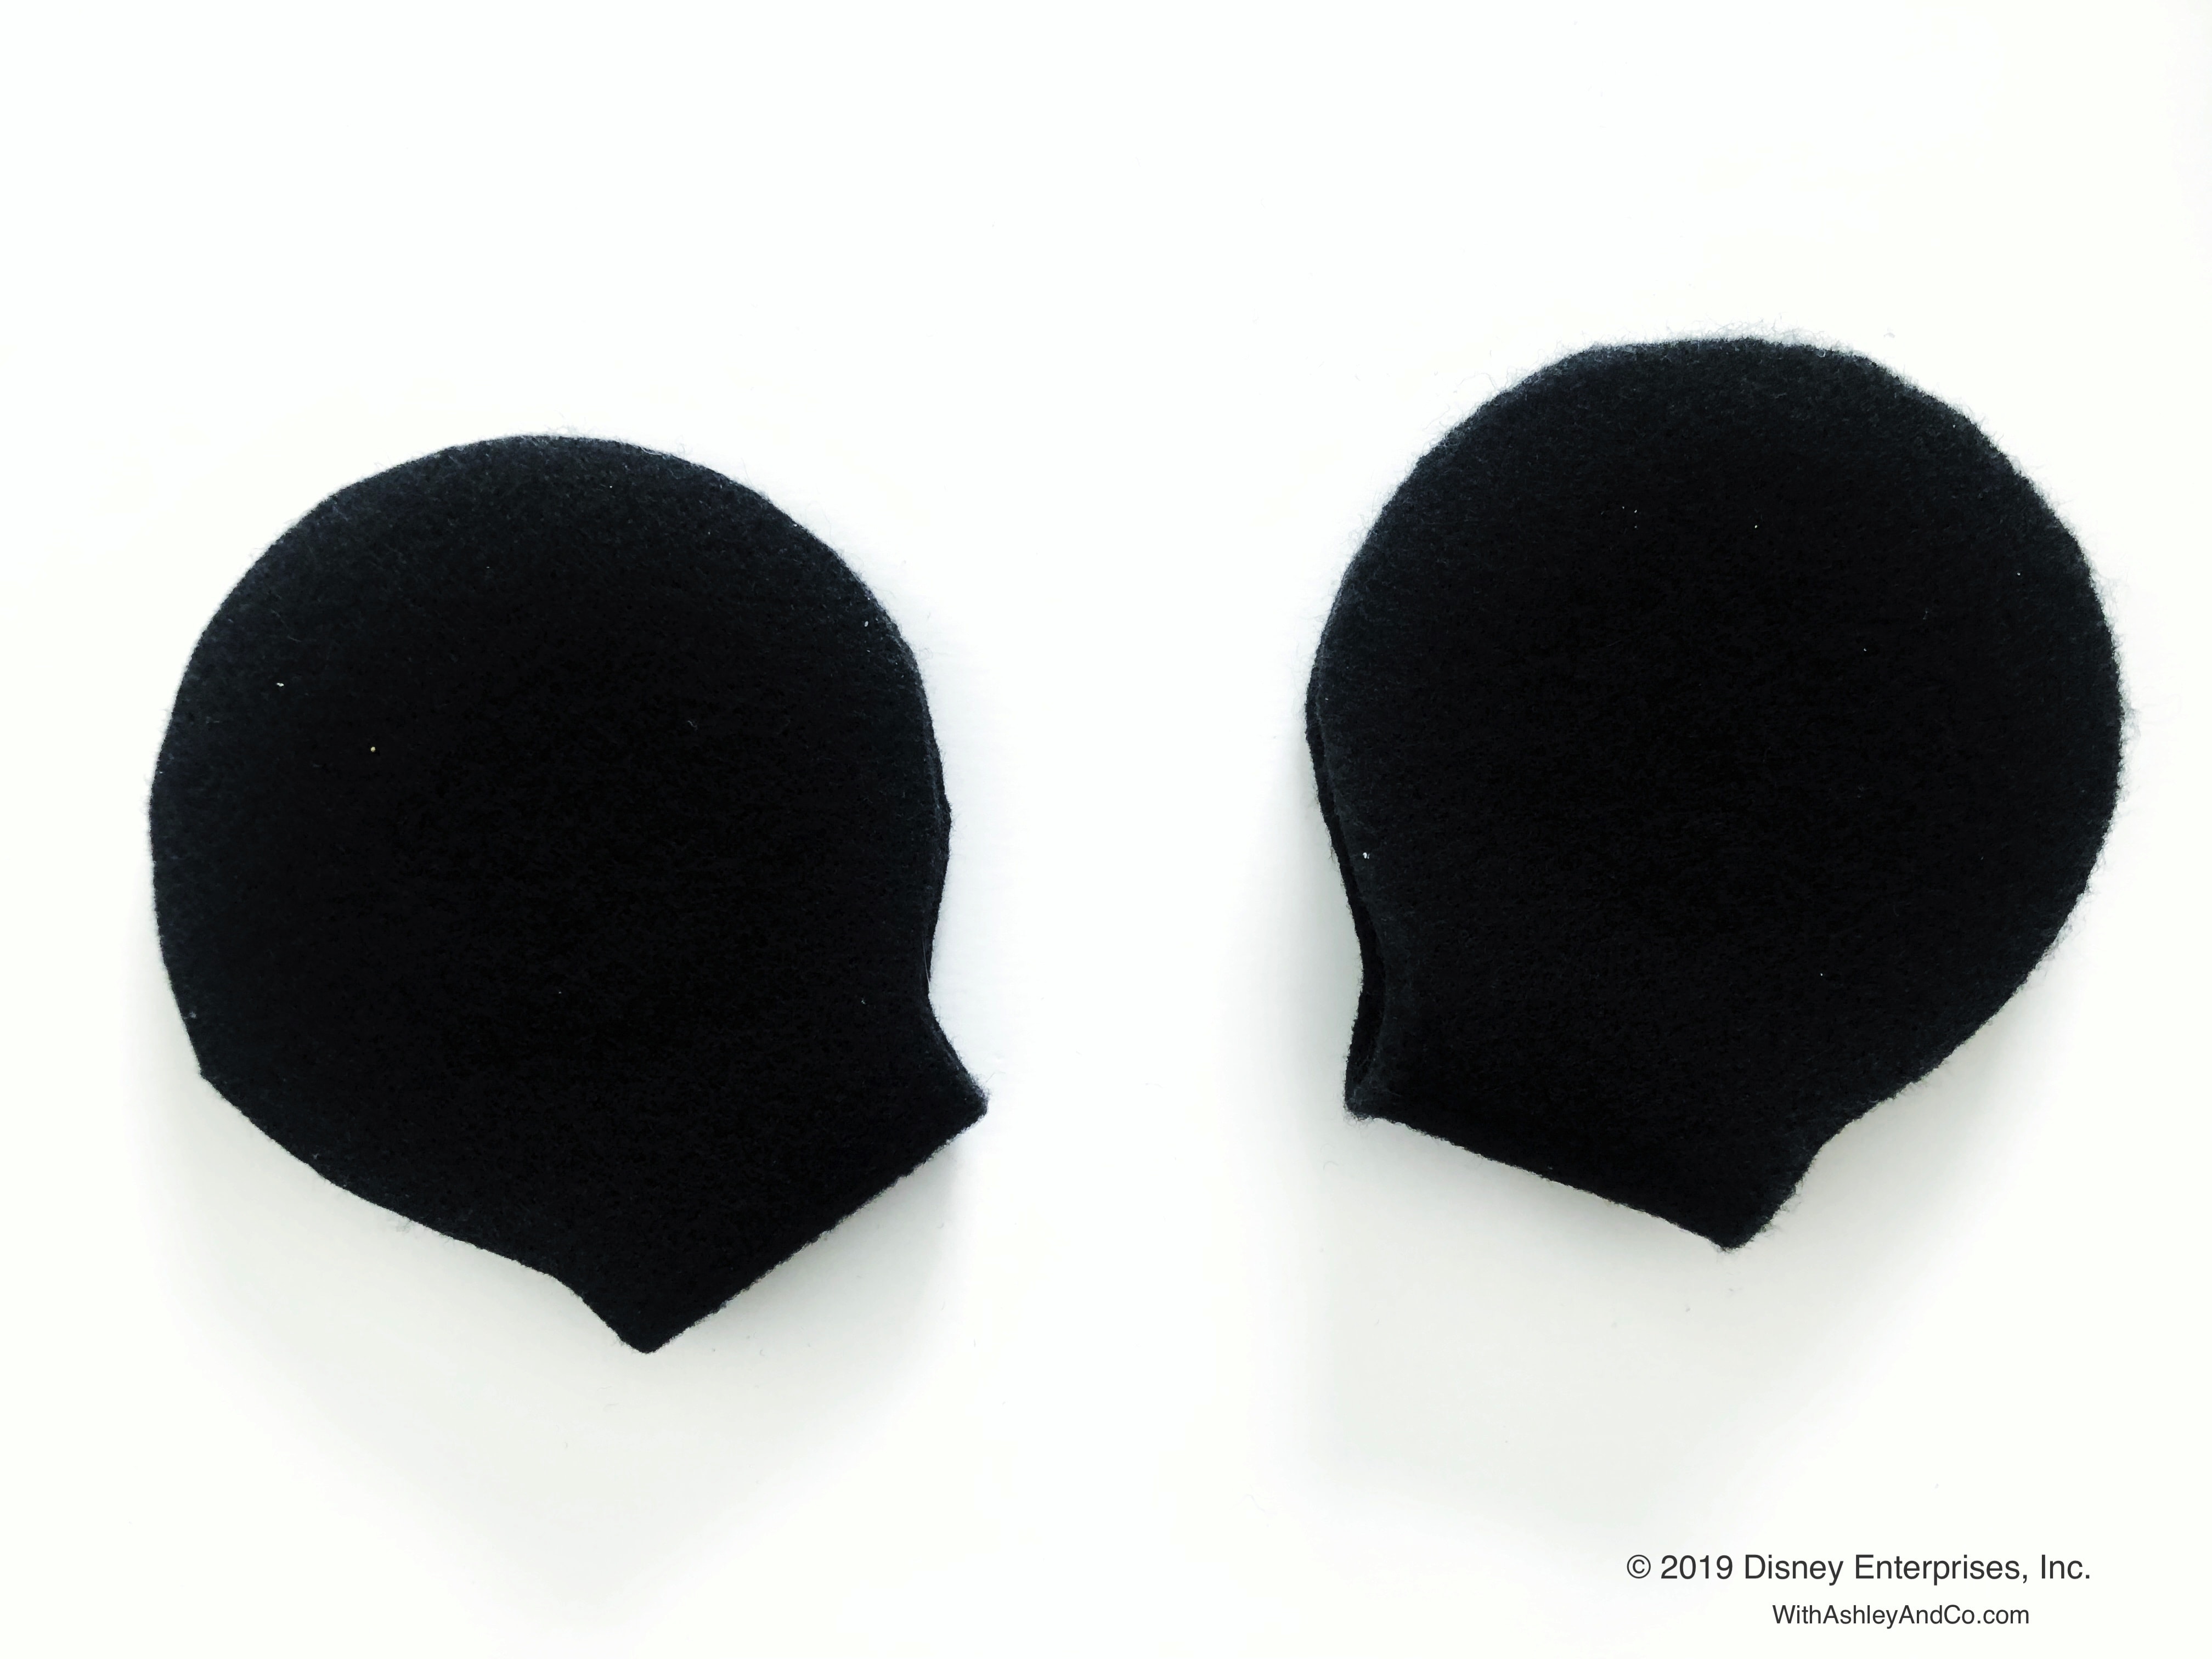
Step 2. Cut out the felt and foam ear pieces.
Step 3. Assemble Your Ears. Using the glue gun, apply a generous amount of glue to one side of the foam circle and stick it in the center of one side of the felt ears. Press down to avoid lumps in the glue. Once cooled, apply more glue to the top of the foam circle and fold over the felt to cover. Again press down to avoid glue lumps. Repeat this for the second ear.
After they have cooled a bit, add glue around the inside of the ears to seal them. Press together.
**Make sure to leave the rectangle part of the felt open. You will be glueing that later.**
Step 4. Insert the headband through the opening left by the rectangles, sliding the ears into your desired position. I kept mine 2 inches apart, after studying all my various Disney Parks Minnie Ears!
Once you have them in position, apply glue inside the opening and pinch down to secure them to the headband.
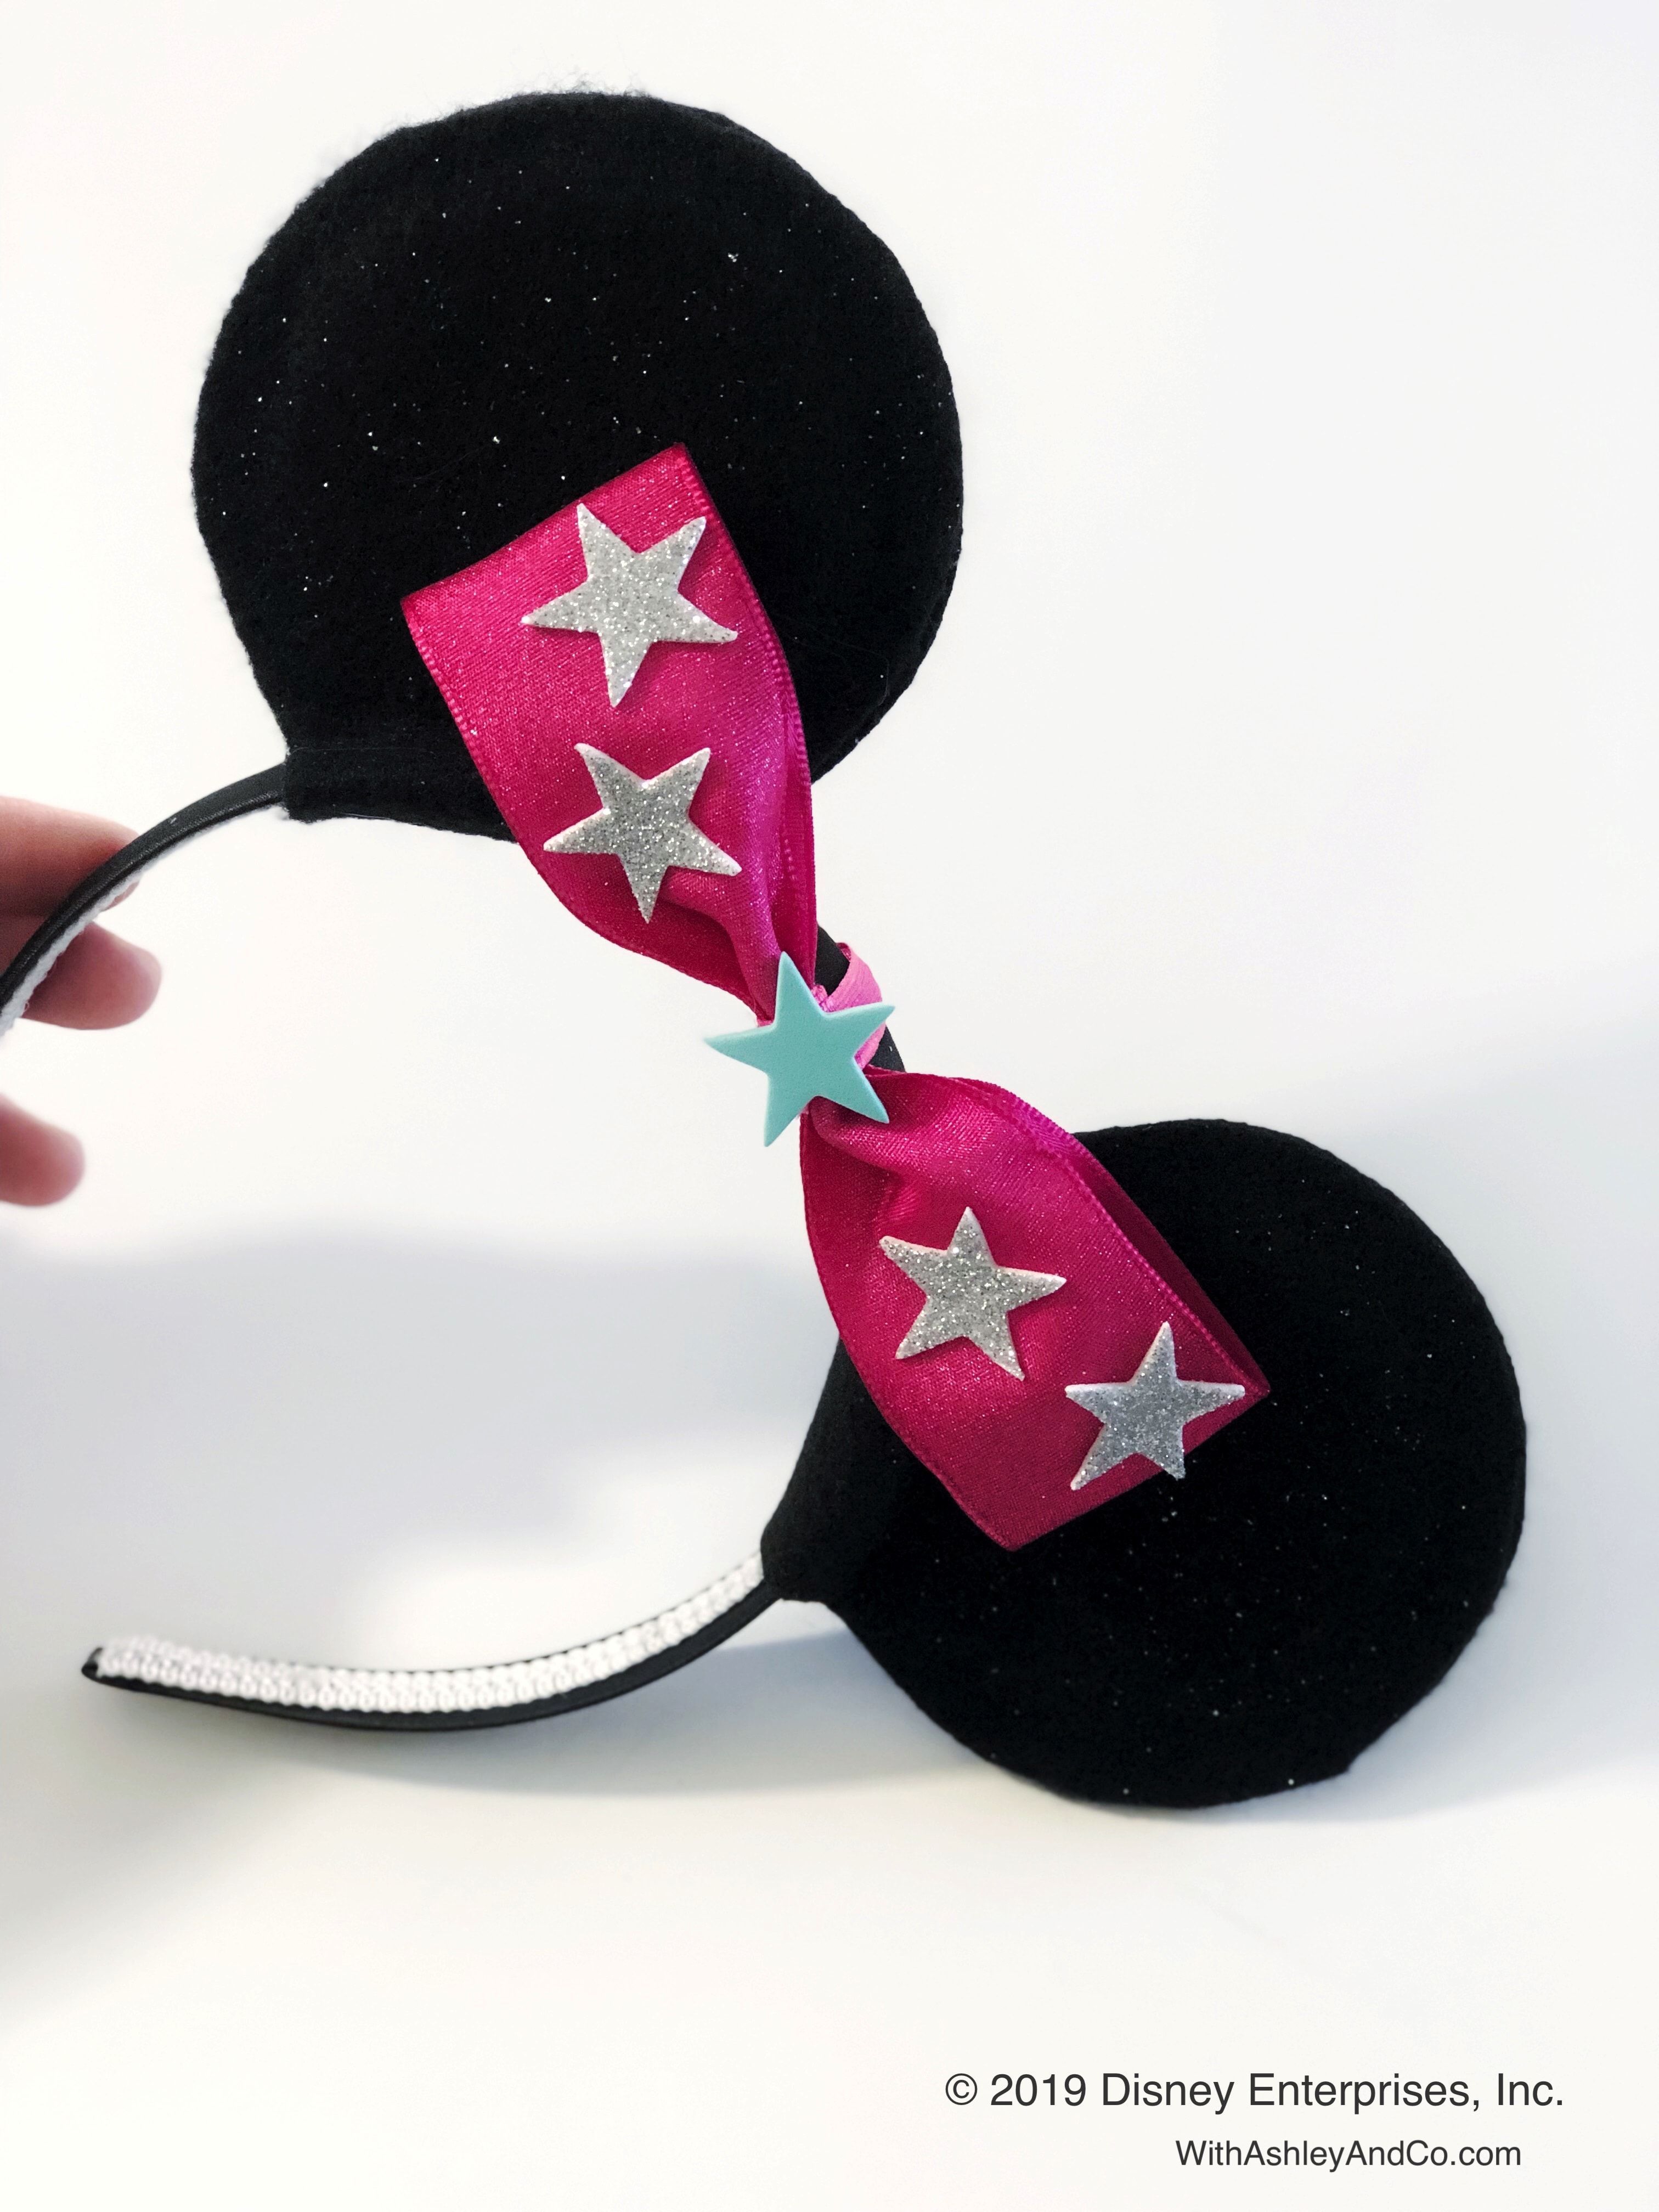
Step 5. You can't have Minnie Mouse ears without an adorable bow. In Bow Be Mine, Minnie is rocking a pink bow with stars. I tried to match my pink ribbon as closely to her's as possible and opted for one with a little shine. What can I say? I love glitter!
To create the bow cut a 12 inch strip of the thicker ribbon. Then, cut an approx. 8 inch strip of the thinner one. Take the thicker ribbon and fold the 2 ends back until they overlap in the center. Pinch the 3 layers together.
Using the thinner ribbon, wrap it around the pinched area and cut. Carefully seal using the glue. Attach the bow to the headband with the thin ribbon. Cut and seal with glue. Add a spot of glue to the back of each bow to secure it to the ears.
Step 6. Time To Shine. Add your foam star stickers to the bow and you're ready to take the stage and sing your heart out! I also used one of the extra glittery stickers to pat onto the felt to give the ears some sparkle as well.
Disney Junior's Bow Be Mine Available Now!
Everyone's favorite Happy Helpers and BFF's, Minnie and Daisy, are now available to bring home on DVD. Bow Be Mine features 12 Happy Helpers adventures from judging a surfing contest in Hawaii, solving a doozy of a mystery, to photographing a rare rainforest bird and so much more! Included is Minnie's rock-n-roll performance at Hot Dog Hills Stadium!
Bow Be Mine Features 12 Happy Helpers Episodes:
Super-Charged: Pop Star Helpers
Meet the Beagles!
Daisy’s Photo Finish!
The Hot Diggity Dog Show
The Hiking Honeybees
Thrillin’ Hilda!
Teed Off (Season 1)
Grandpa vs. Grandpa
Cuckoo in Paris
Tree House Trouble
My Fair Pete
A Doozy Night of Mystery
Plus 2 Bonus Music Videos!
